Season 3

The Lighting in Keep The Change | Season 3: Episode 10

Today, we are going to talk about lights!

To start off, I’ll explain a little bit about the lighting kit we used in Keep The Change:

  • The Aputure HR672C, this is the main light we used throughout the film. You can dim it, change the colour temperature, and it is also battery powered which was essential as most of the film was shot outside, away from any power sources.

  • We used a bunch of these 160 LEDs to fit into small spaces.

  • When we needed considerably more light, we used a set of 800 watt lights. They’re super bright and versatile, but they do get really hot so gloves are a must!

  • Other bits of equipment we used were things like diffusion paper to diffuse the light, coloured gels to change the colour of lights, various DIY flags we made out of cardboard to block any unwanted light, an umbrella to diffuse light, reflectors, and lots of clips and duct tape.

Right, so now that is out of the way, let’s talk about how we used them.

The 2 main lighting setups are the car driving scene and the pizza box scene.

How to light a car driving scene.jpg

For the car driving scene, if you hadn’t noticed, he is not actually driving – we have a video talking about that here.

This scene all starts in my garage. We blocked out all of the natural light coming in from outside.

Then we switched on all of the lights you’d expect to see when someone is driving at night – the dashboard lights, and in this case, the driver’s phone screen.

We used a 160 LED panel with orange gel and diffusion paper to enhance the glow of the dashboard lights in order to brighten up the driver’s face.
We did the same thing to enhance the light from the phone screen but swapped out the orange gel for a blue gel.

Lastly, we put a light on the floor in the back of the car to light up the back seats a touch.

We used this exact set up when we shot the scene outside in the car, but we added 2 extra lights on the outside of the car.

A 160 LED with a blue gel to simulate moon light, and the Aputure panel to enhance the street light on the right hand side.

The pizza box scene.

The lighting of keep the change.jpg

The main source of light in this scene is the light above the table. So we started here.

The idea was to create a beam of light which only casts on the middle of the table, giving a focus point for the character to place the pizza box down.

We originally tried to do this with the 800 watt light, using the barn doors to flag the light and create that focused beam.

The problem with using this light is the light that spills out of the back, through the gaps to let out excess heat.

We could have covered the gaps in black wrap, but fixing an incredibly hot light right above the actor covering the ventilation points was a disaster waiting to happen.

The next best option was the Aputure LED panel. It doesn’t really get hot, but unfortunately we don’t have a set of barn doors for it.

So, what we did, was build a platform for the light to sit on, then made a hole in it so we could use the barn doors from the 800w light.

With a little bit of trial and error we had something that produced this.

Aputure-LED-panel.jpg
Aputure-LED-panel_1.jpg

The setup does not look pretty, but it worked exactly how we wanted it to.

The next light we set up was a back light.

For this we used one of the 800w lights, added an orange gel, and dimmed the light just enough so it would add a harsh edge light.

Edge-Light.jpg

The light coming from the pizza box was achieved by placing a 160 LED panel in the pizza box covered in an orange gel, then we pumped smoke into the box and lifted the lid using fishing wire as a pulley. 

In order to create a harsh light rising up and hitting our actor’s face, the 160 LED we used in the pizza box just wasn’t bright enough.

So we placed the 800 watt light under the table, and using a bunch of cardboard, we were able to block out all of the light hitting the walls and have it only land on our actor.

Then we used another piece of cardboard and lifted it up near our actor’s face to replicate the light coming from the pizza box.


The Lighting in Keep The Change.jpg

DISCLAIMERS:

Some of these links are affiliate links, if you purchase gear via these links The Film Look will receive a small commission, but there will be no additional cost to you. Thank you!

Fake Driving and a Car Breakdown | Season 3: Episode 9

In Keep The Change, we see our character, Stu, travelling from left to right when going from scene to scene, which is the traditional direction for characters to move forward in films.

When he is in the car, however, we ran into some shooting problems.

We made this film in England, and if you don't know, in England we drive on the left hand side of the road.

This means the driver’s seat is on the right hand side of the car. So, having the camera shooting from the passenger side towards the driver’s side would result in our character facing the wrong direction. He'd be facing the left, looking backwards.

Fake-Car-Driving.jpg

Well, that's an easy fix, just have him travelling from right to left throughout the film, right?

The problem with this; it starts messing with film grammar. What's film grammar? Well, films have a language, not a spoken language but a visual one, and when you start changing the 'words' in this language (such as a character's travelling direction), it can impact on an audience member's enjoyment of the film.

It’s not just films that do this either. Most, if not all, platform games run from left to right.

So anyway, this was an issue. And we had 2 options. Option 1, shoot the film with our character moving from right to left, breaking traditional film grammar.

Or option 2: find a way to shoot from the driver's side. Option 2 is a lot more difficult, but it might provide better results in the end. Plus, it's a learning process.

In the end, we took the challenge.

Shooting-whilst-driving.jpg

The next problem was, how do we film our actor Liam driving the car?

Use another car and shoot from the window alongside it? Too dangerous.

Stick it on a trailer? Too expensive.

Put a camera on the dashboard? Not enough room.

So instead, we tried our best to fake it.

We considered a lot of things when trying to fake the driving of a car.

You'll see others achieving this effect by using lights to act as street lights, beaming them across the car from front to back and repeating the process.

We tried this, but because of the small space and the white walls of Rob's garage, we ended up light up the walls and it would spoil the effect. So that method didn’t work for us.

Shooting-at-night.jpg

Instead, we shot an establishing shot of the car driving past at night on a country road that had no immediate street lights. This helped establish the scene and the environment once we cut into the car.

Then we dressed the car with items which would move when the car is travelling. A bobble head and a pine fresh. Then we rocked the car gently to fake the bumps of the road.

Unfortunately, Rob’s car being rocked in his garage didn’t sound like it was driving on a road.

So we grabbed the microphone, got back in the car, and drove around, recording the car at different speeds, and we put the rumbling noise of inside the car back into the film.

Doing it this way was never going to be perfect, but it worked for the short time we see him in the car.

To achieve the pot hole effect, we used the wiggle expression in After Effects to generate a camera shake and added a bunch of different sounds, such as: going over a speed bump, the engine switching off, and radio jitters.

For the limited time and no real budget, this was our best option. Obviously with more cash, using a car shooting rig or a trailer would be a lot better.

And if we had a larger space to work in, using lights to fake street lamps would have sold the effect a lot better too. But, you gotta work with what you have!

Anyway! Now that we had the car driving and hitting a pot hole, it was time to make it look like it was totalled. This is where the smoke machine comes in.

The whole idea for Keep The Change started because we wanted an excuse to use a smoke machine.

We wrote the scenes around the techniques we wanted to demonstrate with the smoke machine, and wrote the over lining story around the scenes, working the opposite way to usual, which was a learning process in itself!

So, here's what you'll need:

Firstly, a car. Luckily, Rob's old Peugeot 106 helped sell the effect of a breakdown because it’s…well it’s not brand new.
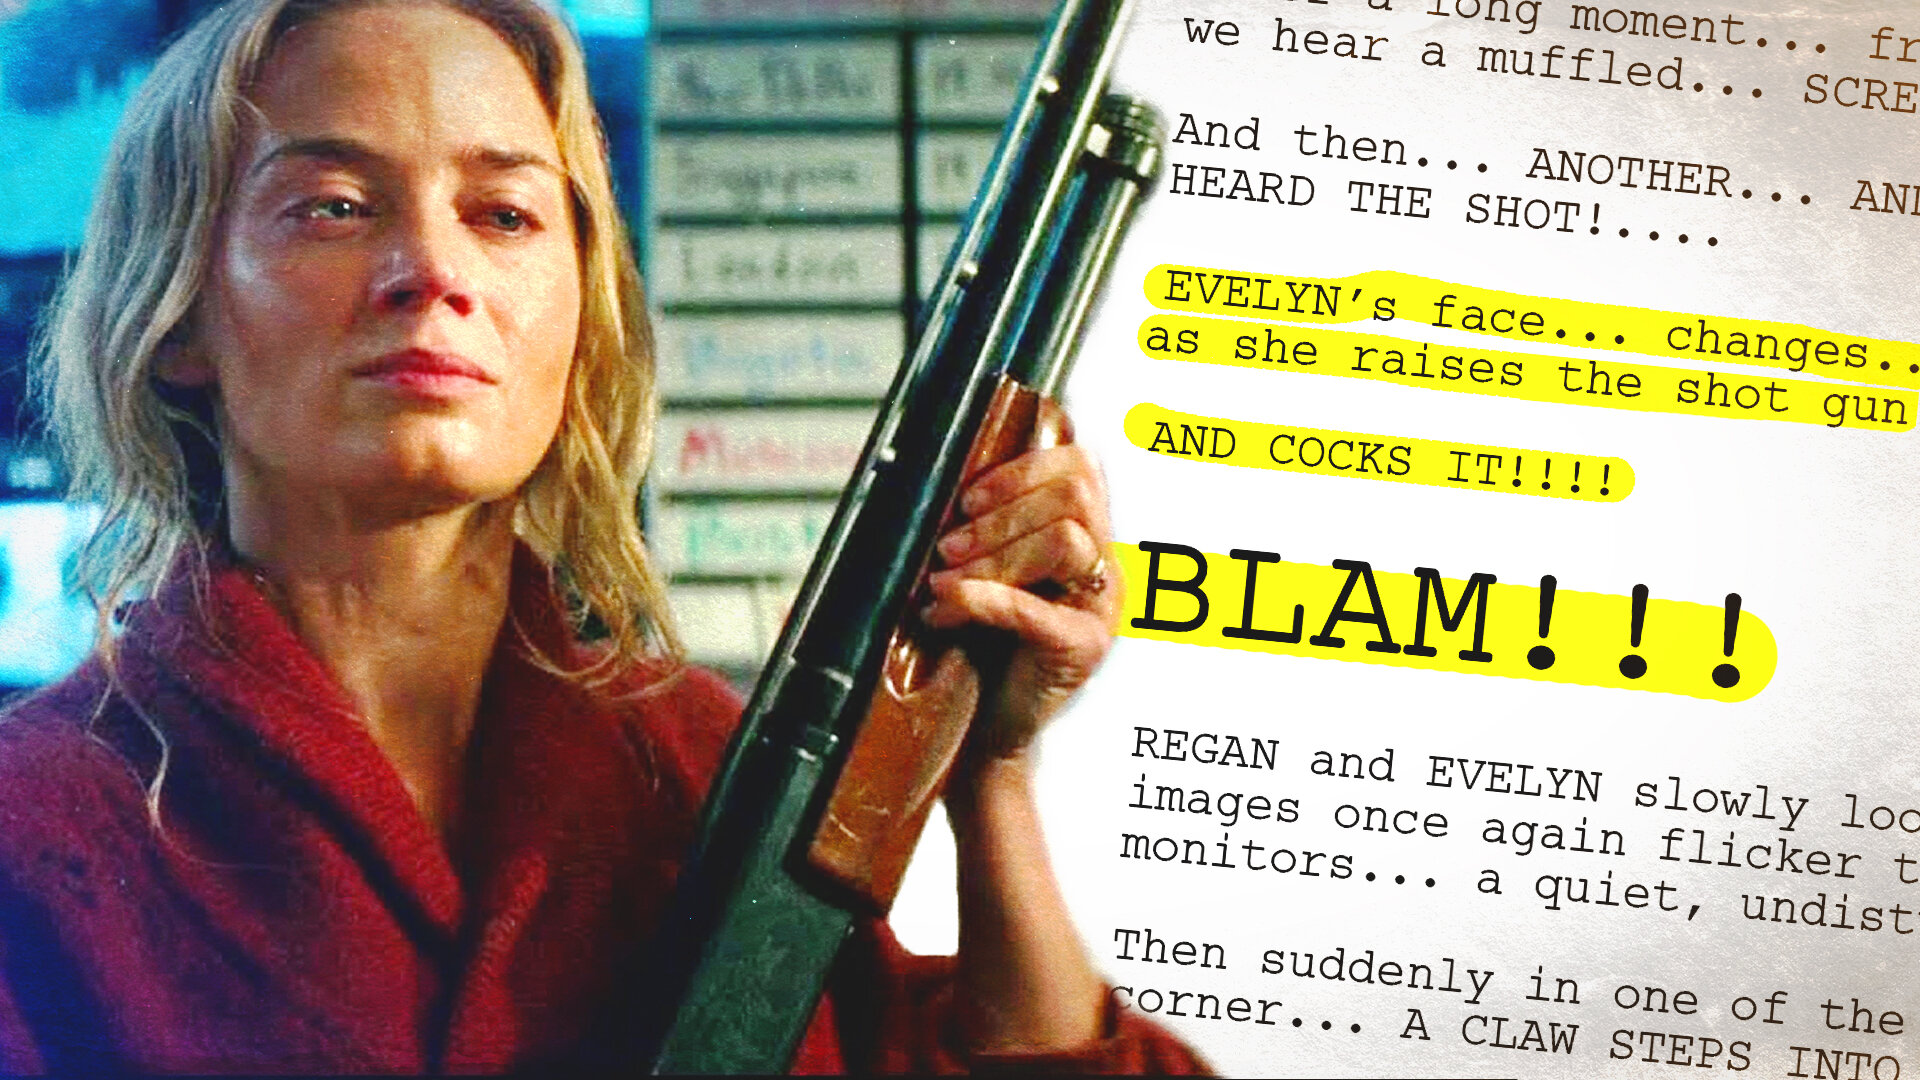
Fake-a-car-break-down.jpg

Secondly, you’ll need a smoke machine. I found this one on sale at a costume shop just after Halloween, so it was really cheap.

It runs on 230 volts, so it has to be plugged into a mains socket. We have a caravan battery for wireless power, but an extension cord will work just as well (as long as you can find a socket).

So now that you are powered; position the smoke machine under the engine and angle it pointing up or use some sort of funnel to direct the smoke up through the engine.

We used a nozzle from an airbed pump and duct taped it on. Give the smoke a good 10 seconds to build up under the bonnet, and you’re good to go.

Fake car smoke.jpg

We also used the smoke in the last scene to fill the room with haze. Blast it a few seconds, then waft it to fill the room. This helped achieve the light rays from his phone light and gave the room a hazy glow.

We also pumped a little bit in through the back of the pizza box to create a steamy vapour when it opened up.


Fake Driving and a Car Breakdown.jpg

DISCLAIMERS:

Some of these links are affiliate links, if you purchase gear via these links The Film Look will receive a small commission, but there will be no additional cost to you. Thank you!

The Cost of a Short Film: Keep The Change

So when you are just starting to make films they say you should beg, borrow and steal. I would advise against the stealing part but you get the point.

So how much did it cost to shoot our short film like Keep The Change, which was just under 7 minutes long, had one actor and was shot over 3 nights. Well lets work it out.

Actor - Free
We have worked with Liam for years, one day we will be able to pay for his acting services, but for this project he just wanted to be involved.

The Cost of a Short Film - 1.jpg

Crew - Free
We had a crew of 4, me, Richard, Ed and Opie who like Liam just helped us out for the fun of it. It's not about how many crew members you have, its about having the right type of people and we defiantly had that with Ed and Opie.

The Cost of a Short Film - 2.jpg

Food Supplies - £20
When you can not pay your cast and crew, make sure you feed them. It really doesn't cost that much, but its very much appropriated when shooting. Tea and coffees are a good starts.

The Cost of a Short Film - 3.jpg

Equipment - Free
Yes we could of spent money renting the best camera equipment, but we just used what we had.

The Cost of a Short Film - 4.jpg

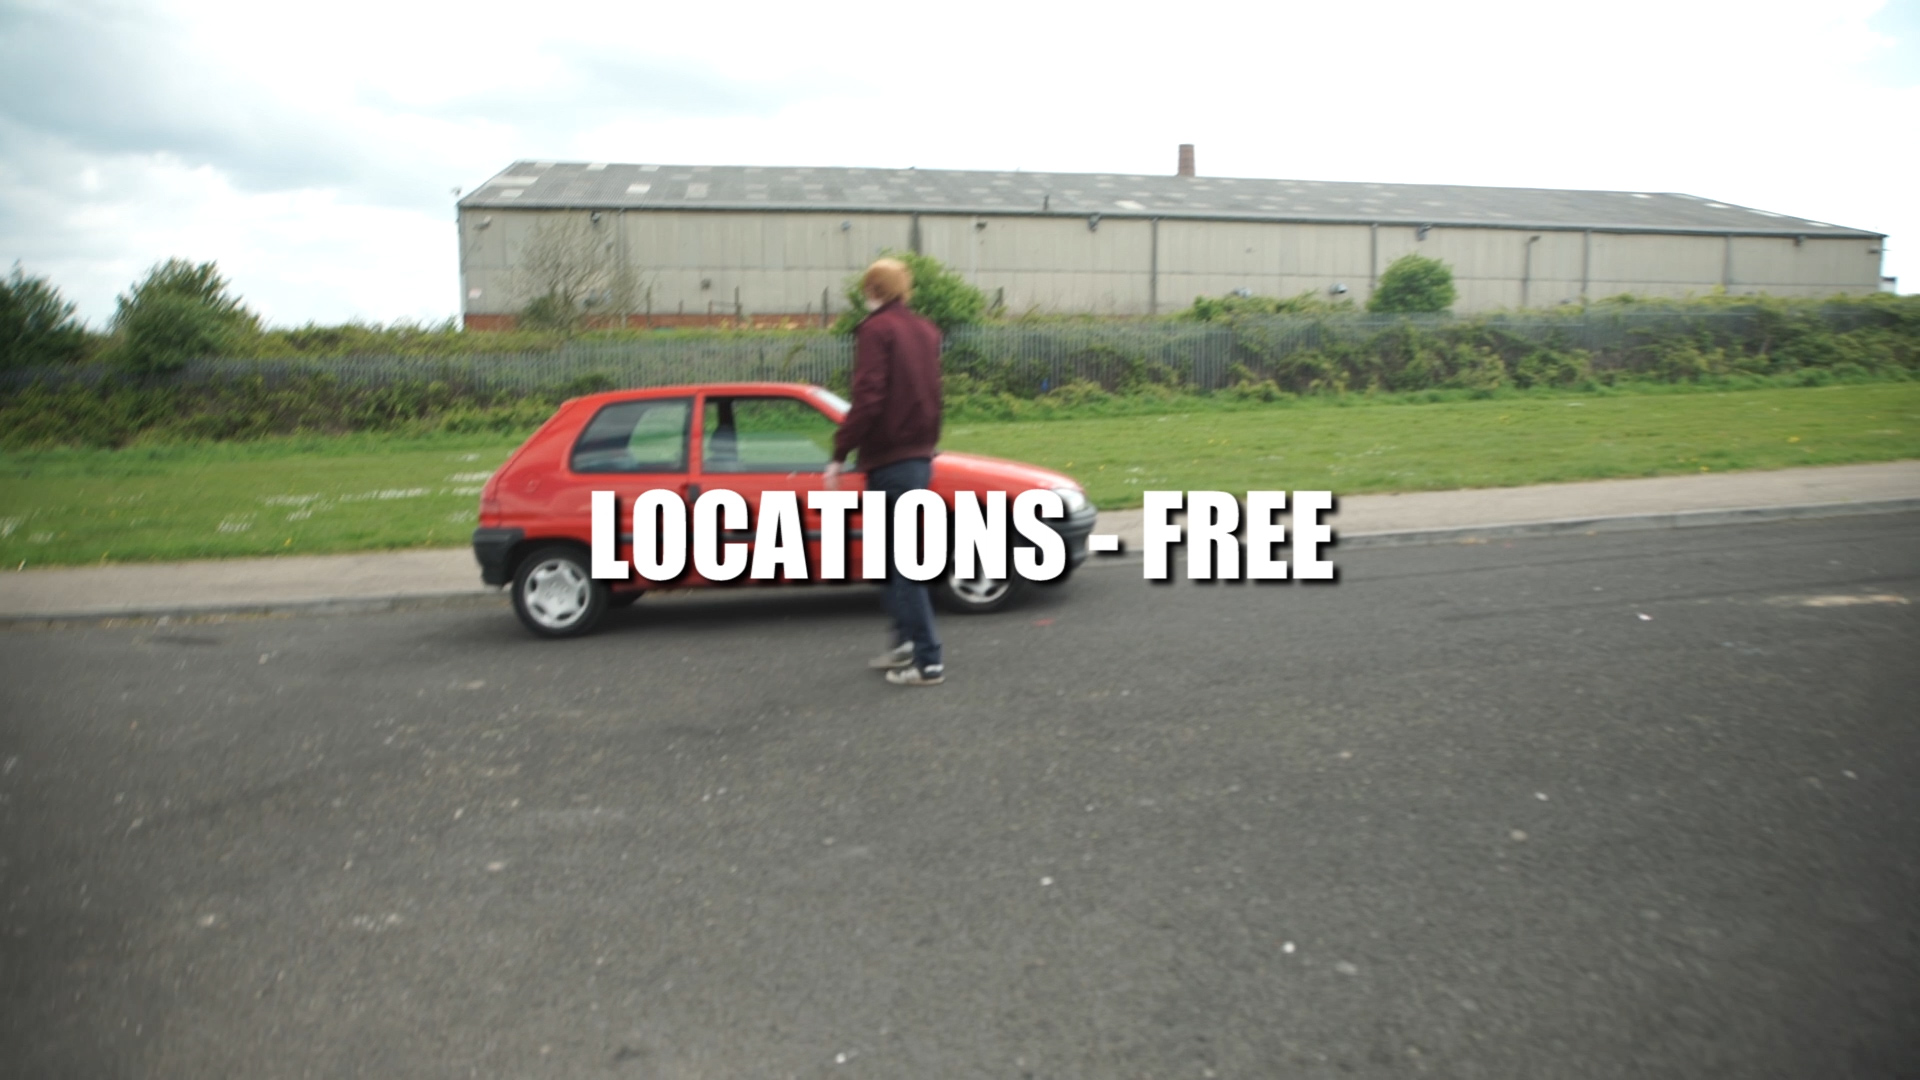
Locations - Free
An interesting location really helps to achieve the film look, for us when writing we already had the locations in mind that would cost us nothing.

The Cost of a Short Film - 5.jpg

Travel Cost - £20
Petrol costs money.

The Cost of a Short Film - 6.jpg

Props - £5.75
For the film we need certain props to help tell the story and dress the set, we made a video about it here. Some of them cost money and others we already had or we borrowed.

The Cost of a Short Film - 7.jpg

Pizza - £5
Since the main character is a pizza delivery driver we needed to buy a pizza for certain shots in the film. We did eat the pizza, it is pizza after all.

The Cost of a Short Film - 8.jpg

Costume - £26
We had to make sure the character looked like a pizza delivery driver, so we had to design and order the costume. This was necessary for the film.

The Cost of a Short Film - 9.jpg

Clapper Board - £13
We have decided to us a new clapper board for each film, so one day we can have a whole wall of clapper boards from the films we have made.

The Cost of a Short Film - 10.jpg

Editing - Free
We edited the film so that was free.

Music - £6
For your film you can get free music, cheap music, and expensive music.
These all range in quality, luckily we found something in the cheap music section that worked well for the film.

So it cost us £95.75 to make the film, not a lot when you think about it. The thing that did cost us the most was time, a lot of time went in planing, shooting and editing the film. What value do you put on your time when your making a film, well for us we do it because we love making films.

The Cost of a Short Film - total.jpg

The Cost of a Short Film Keep The Change.jpg

DISCLAIMERS:

Some of these links are affiliate links, if you purchase gear via these links The Film Look will receive a small commission, but there will be no additional cost to you. Thank you!

A Film About Props | Season 3: Episode 7

A film prop can be anything from a ring, a volley ball, or a red or a blue pill. A prop can be assigned to a character, or used as a plot device.

Matrix Light Meter.jpg

Keep The Change is roughly 7 minutes long, and features over a dozen props. This is how we used props to help achieve the film look.

Here are all of our props for our film Keep The Change. Each has a reason to be included in the film.

Just a quick note, we have deliberately included the costume in this list. There is a fine line between a prop and a costume. For example; if you wear a sword on your belt, it is a costume. But if you draw the sword, it becomes a prop. So we are going to speak about both. Let’s get started!

The Order Ticket – this prop was used in the very first shot of the film. It was used to throw the audience straight into the world of “this film has something to do with the service industry”.

1 - Order Ticket.jpg

The hoodie & the cap – Straight away, the hoodie is giving very important information. It’s a pizza shop called Robbie’s Pizza, and their slogan is “if we’re late – it’s free”.

2 - Hoddie & Cap.jpg

We actually designed the logo in Photoshop and used an online store to print it and get it, and the cap, delivered. The cap is a clear sign that our character is a pizza delivery guy. He wears the uniform, he must be a member of staff at Robbie’s pizza.

The pizza bag and box – If someone doesn’t know it by now, they will know exactly what this film is about now that they have seen a pizza box going into a delivery bag. It’s about pizza…pizza.

3. Pizza Bag.jpg

The car – For Keep The Change we wanted to use an old beaten up car. "Thankfully, I drive one!" Using an old car signifies that our character doesn’t have a lot of money, or is very careless with his money. The car is also the device used for transportation at the start of the film. "My car is called Dougal by the way".

4 Car.jpg

Phone – The phone is very important in this film. Firstly, it acts as a GPS for our character to follow along the road. The road it shows indicated that it is in the middle of nowhere, and that there are very limited sources of light and, more importantly, people.

Later on in the film, the phone gives information in the form of voice commands to the character and the audience.

5 Phone.jpg

Pine Fresh – The car freshener is used as an object that would move if the car is travelling. This was placed strategically to help sell the effect of driving the car, which we faked in Rob’s garage.

7. Pine Fresh.jpg

Walter White – Like the pine fresh, this is used to help sell the effect of the car moving when it actually isn’t.

8. Walter White.jpg

Egg Timer – This is quite an important one. The egg timer is there to show the pizza must be delivered in a certain amount of time. Throughout the film it ticks away and gives the audience an estimate on how far along time has passed and how close to the deadline our character is. It is also used as a stressful audio device, ticking away while our character is trying to think.

9. Egg Timer.jpg

The Teddy Bear with Spectacles – This bear is used to further solidify that the children he takes care of are an active part of his life and spend a significant amount of time with our character and in his car.

It’s annoying, staring smile is staring at our character in the most stressed time of his life, and our character obnoxiously speaks to the teddy, giving our character more naivety.

10. Teddy Bear.jpg

Radio – This tells us where the music is coming from as it goes from non-diegetic to diegetic (diegetic meaning a visible source of audio on screen).

11. Radio.jpg

The business card – This prop is used to tell the audience our character is in the right place. 19, red door. He is standing in front of a large red door. Unfortunately, it was so dark the door doesn’t look red! Oops.

12. Business Card.jpg

The sign – The sign reading “Keep The Change” is there to show that someone has personally ordered this pizza, but also shows the significant lack of someone actually being in the scene. It gives our character his orders to take the £10 under the sign and not bother leaving any change. Oh, the £10 is also a prop! Add it to the list!!

13. Sign.jpg

Car Seat and Teddy Bear – These props give the audience the hint towards our character being a father, or a guardian, and that he has responsibility in his life. This helps give the character a sense of dread later on when he realises he will soon lose his job, which in turn gives him the determination to just start running.

The table – It’s a table. Where would the pizza box go if we didn’t have a table, on the floor? We also added a bunch of powdered chalk to outline the shape of the pizza box.

15. Table.jpg

Our original idea was to have some sort of space for our character to carefully place the pizza box into, like a frame or something. But, we went for a chalk outline because it fitted into the whole “Is this a sci-fi film?” ending.


A Film About Props.jpg

DISCLAIMERS:

Some of these links are affiliate links, if you purchase gear via these links The Film Look will receive a small commission, but there will be no additional cost to you. Thank you!

Fix it in Post | Season 3: Episode 6

Keep The Change was not a visual effects heavy project. But, that doesn’t mean we didn’t use any.

Looking back, there was actually a bunch of different VFX shots in the film. They weren’t highly animated CG elements or super polished VFX renders. Mostly, it was hiding mistakes and enhancing shots.

Let's get started. The wing mirror shot. It was only after reviewing the footage on the computer that we realised the entire crew can be seen in the wing mirror as the car door swings shut.

Fix-it-in-Post-masking.jpg

To fix this, I exported the frames that had our heads in, brought them up in Photoshop, used the clone stamp and spot healing brushes and painted our heads out.

Luckily, because this shot is at night and the wing mirror is moving, I didn’t have to refine the paint work too much. But I guess if it was during the day, we would have noticed our heads in the wing mirror!

Characters travelling from scene to scene can be pretty boring. So we wanted to try something a little bit more interesting. We ended up going for a split screen animated sequence.

The sell the effect; the position and height of the camera, focal length, and distance from the actor needed to match for each shot.

Split-Screen-Effect.jpg

To get the same distance from your actor every time, something as simple as a piece of string will work. Just cut it to length and position your actor at the one end and the camera at the other.

For framing, we made sure Liam's head was pretty much right in the centre as he ran, and for the height, we just dropped one set of legs on the tripod and had the camera completely level.

Once we had the shots, it was a case of compositing them on top of each other and animating the position, the masks, and the black bars.

There was a little bit of VFX used in the car breakdown. Just a bit of camera shake when the car runs over a pot hole. Simple stuff.

The pizza box shot. Most of the elements are practical. We pumped smoke into the pizza box and opened up the lid using fishing wire as a pulley.

What did need VFX was hiding the LED panel inside the box. It was 90% there, but just needed some paint work and a little mask animation to help hide it completely.

Fix-it-in-Post-masking1.jpg

The last shot of Liam was lacking something. Because of the shots before and after, the little amount of smoke we used just didn’t sell it.

So I composited some smoke elements in, masked Liam out to create a background and foreground for the smoke to move in, some light elements to exaggerate the light coming from the pizza box, and some camera shake.

For the camera shake in this shot I didn’t want to add a default wiggle because they don’t look great over a long amount of time. So I recorded a few dots on a wall while holding the camera on a shoulder rig, tracked the dots in After Effects, parented the tracking information to the static shot of Liam, zoomed it in to remove the black, and walla! Genuine handheld camera shake.

How-to-remove-a-boom-in-the-shot.jpg

One last one! I got the boom in the shot - oops! I got rid of it by finding a section where it wasn't in and pasting that clean plate over the boom in shot.

Visual Effects don't always have to be big explosions and fancy CG elements. Sometimes, it's just a case of fixing it in post.


Fix it in Post.jpg

DISCLAIMERS:

Some of these links are affiliate links, if you purchase gear via these links The Film Look will receive a small commission, but there will be no additional cost to you. Thank you!

Developing Character Traits - Hot Seating

Hot Seating is an activity used in drama where an actor will assume the role of a character and is then asked a series of questions about their background, behaviour and motivation.

Here is how we use this technique to shape a personality around our characters.

It works like this: as the writer, get yourself in the mindset of one of your characters. If you can perform the character's mannerisms, even better!

Next, ask a friend to fire off a list of questions about your character's personality traits, habits, and skills. We found a great list of prepared questions online; you can find the link to the list in the description.

Here are some of the questions we asked to develop our character for our film Keep The Change.

Hot-Seating-Questions.jpg

Make a note of the answers, either by writing them down or recording the session. You can come back to them at a later date. Maybe you are stumped as to what your character will react like in a particular situation. You might already have the answer in your list.

We've used this technique in the past to flesh out characters, and we found that you learn more about your character than you'd even expect. Answers seem to erupt out of nowhere.

It isn't necessary to answer hundreds of questions about your character. This technique is used for you as a writer to get to know your character better. Once you feel you know your character better, it's time to start writing.

If you want to watch the full hot seating session with Rob you can find that video below.


DISCLAIMERS:

Some of these links are affiliate links, if you purchase gear via these links The Film Look will receive a small commission, but there will be no additional cost to you. Thank you!